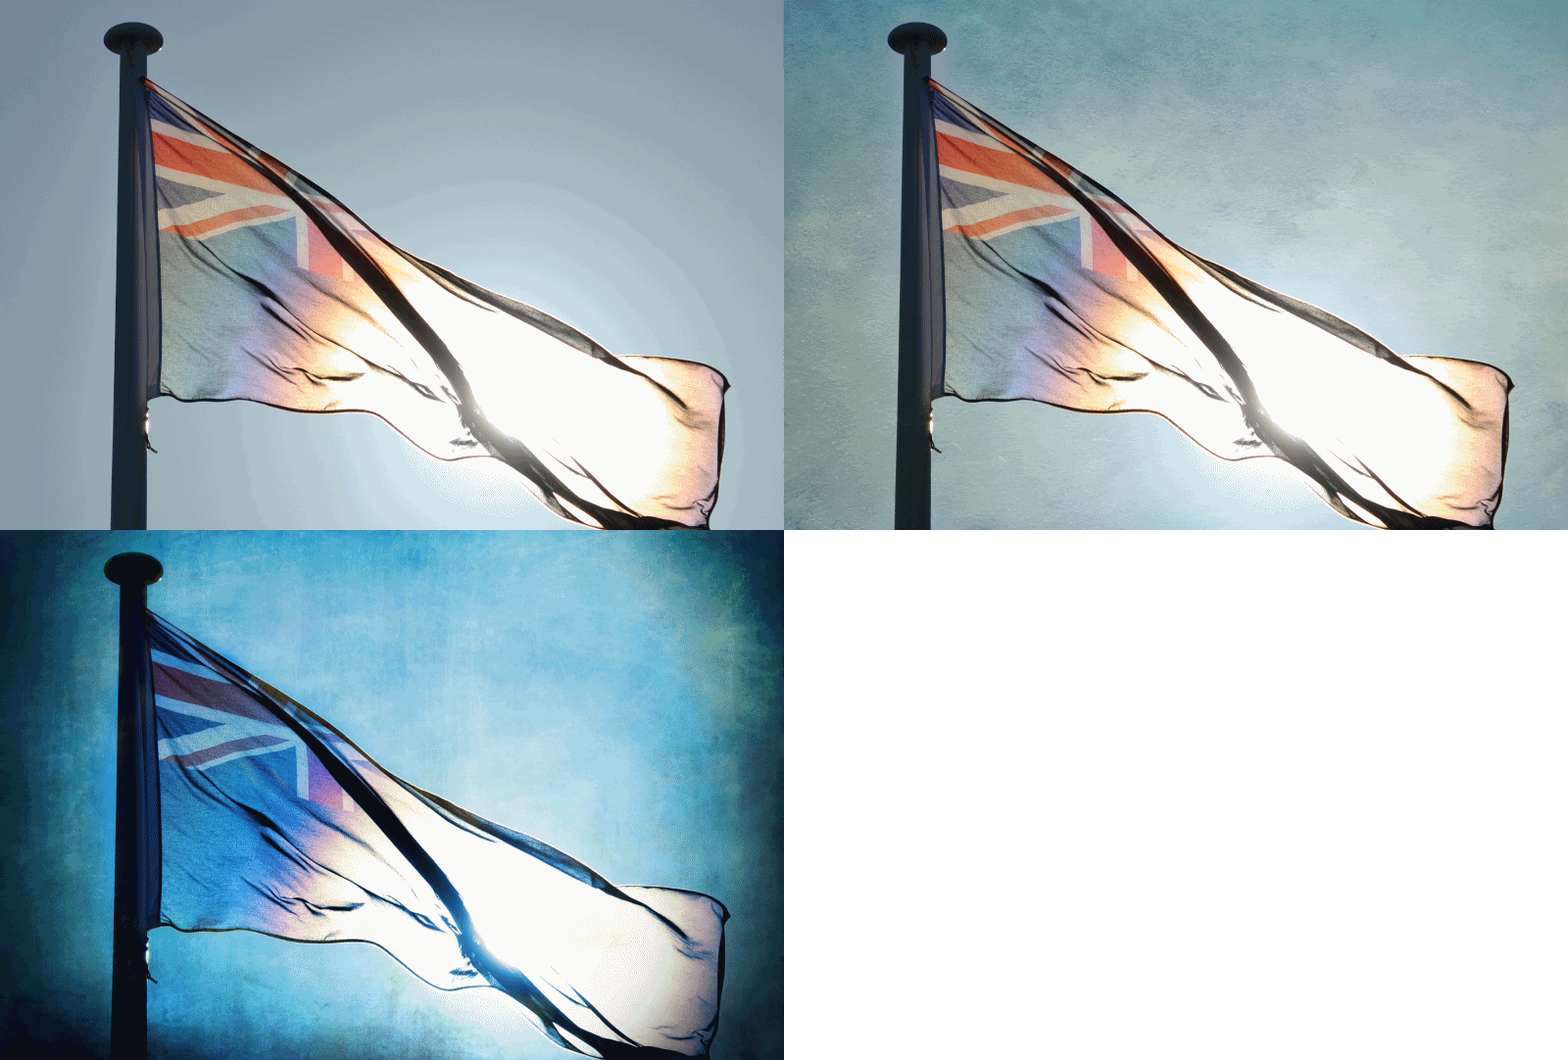
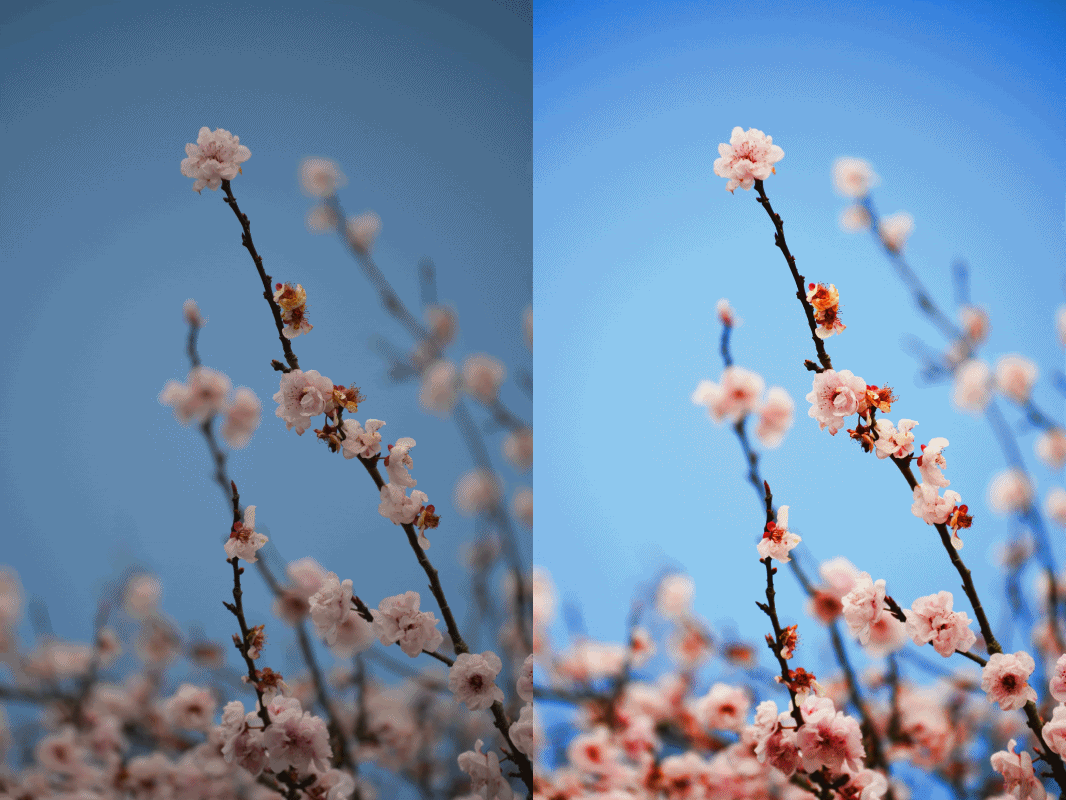
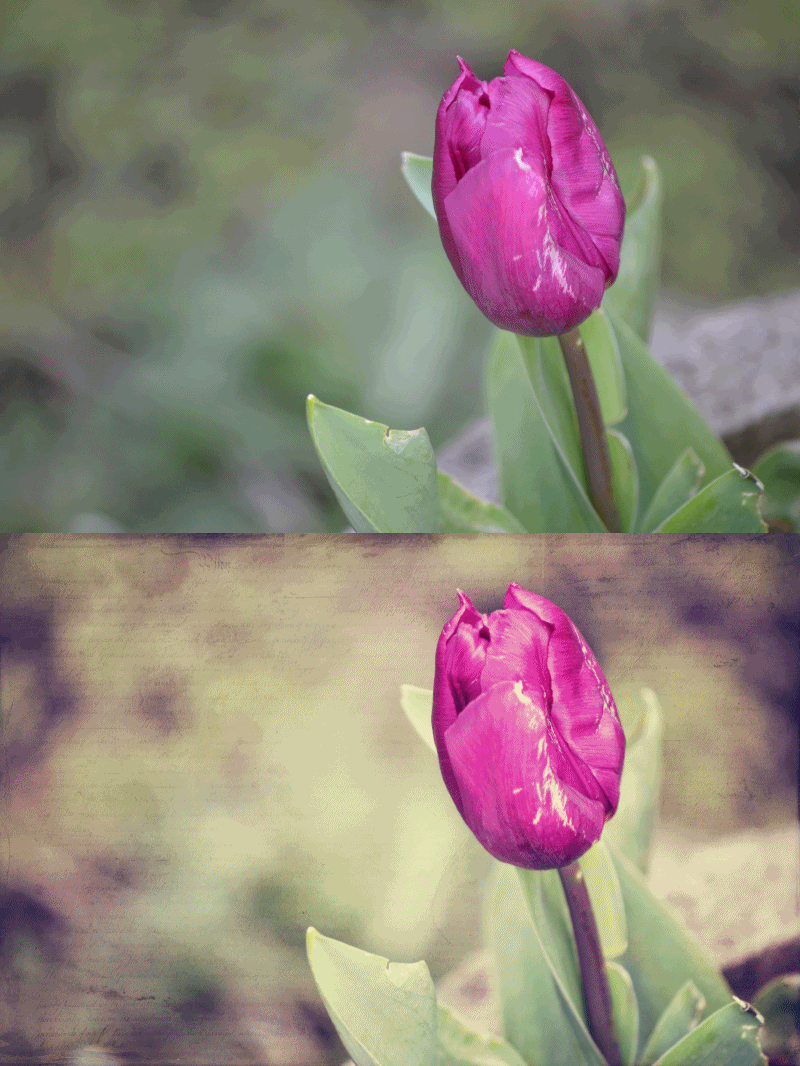
Much as I like Photoshop I find it more time consuming to use and more technical to learn and usually a quick fix is just as easily found in Photoscape.
A couple of weeks back I discovered a new feature in Photoscape - the animated gif. Yes, I know I'm probably a bit slow off the mark, but bear with me. Despite sounding like some kind of monkey, the animated gif is a great way to show a before and after of an edited photo to contrast the change.
Firstly, you need to use Photoscape's Animated Gif tab.
1. Drag the photos you want to use for the before and after effect into the main area.
2. Edit the time lapse between the shots or the transition you want between the shots.
3. Save.
4. Upload your picture on a free external site like Photobucket.
5. Click on the HTML code (which will automatically copy the code) and go back to your post, change the Blogger setting to HTML rather than Compose and paste the link into your post.


It really is as easy as that!
I love being able to take an ordinary picture with a little bit of promise and turn it into something kinda special!


3 comments :
Love it!! It's so easy with your instructions even I did it :)
Wow! Those shots are lovely - love the filters used and little tweaks made. Very cool. I agree, it's nice to be able to take a quite ordinary photo and make something a little special of it :)
very cool M
love and light
Post a Comment