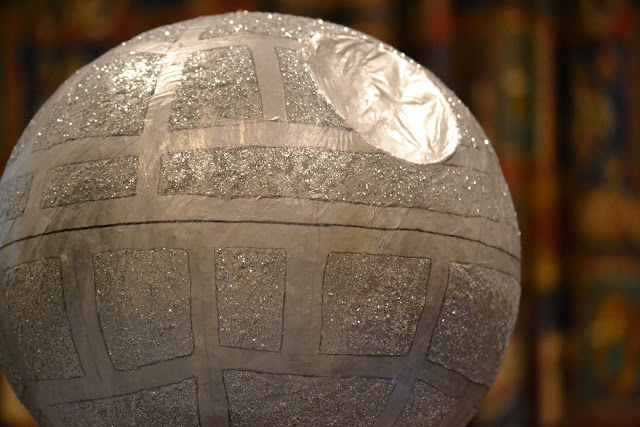
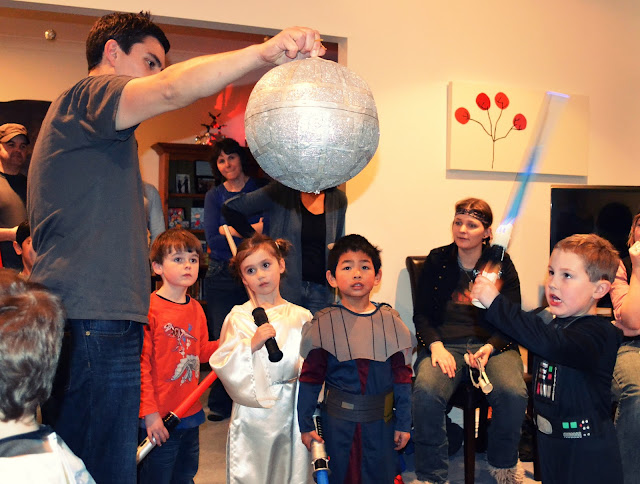
There must be plenty of you out there who have budding Jedis in your homes. Jedis who would wish for their very own Death Star Pinata at their Star Wars Party.
Here's how you can make their dreams come true:
What you'll need:
A round balloon
Newspaper cut into 2-3cm wide strips
Flour/water paper mache glue mixture
Sharp knife
Masking tape
Silver tissue paper
Silver glitter glue/spray
Black marker pen
1. Blow up the balloon to desired size. I bought a pack of 10 punching balloons via eBay for $10 shipped from the UK. They came came with rubber bands already attached which were perfect. The rest of the balloons were given away as part of the goody bags at the party.
2. Make up a paper mache glue mix out of flour and water, approximately 1 portion of flour to 4 of water. Play around with the consistency though as I found once I was on my second and third layers I went for less on the flour and more on the water.
3. Using newspaper strips, pass each strip through the glue wiping off excess between two fingers and then placing the strip on the balloon. Continue till the whole balloon is covered and wait for it to dry. You'll need to have the balloon hanging (from a piece of string or rubber band) or resting on something that it won't get stuck on. I used a plastic rubbish bin.
4. Repeat step 3 for as many layers as you want. Two would probably be enough, but I did four to be safe. One thing is for sure, it made for a very tough pinata!
5. Once dry take the pinata, and using a small pin or nail, slowly let the air out of the balloon inside. Discard the balloon (if you can get it out from the inside!) but keep the rubber band/string from the inside, as you'll be hanging it from this.
6. Use a pencil to draw a line right around the equator the pinata. To make the famous inverted well on the Death Star, draw a 4 inch circle above the equator and cut out with a sharp knife. Turn this piece over and fasten back into the hole with tape.
7. Repeat the paper mache process from steps 2 and 3 with silver tissue paper so the pinata is fully covered. Wait for this to dry completely.
8. Lightly apply strips of masking tape to simulate the light lines on the Death Star as seen in the picture.
9. Sprinkle or paint silver glitter in all the gaps between the tape. I tried about 3 different kinds of spray glitter, and glitter glue before mixing glitter glue with standard glitter and then painting this on to get better coverage. Wait for this to dry completely and then CAREFULLY remove the tape as it will tend to stick to the tissue paper.
10. Using a black marker pen, draw a line around the middle of the equator and around the non-glitter areas of the pinata.
Voila. Your masterpiece is complete.
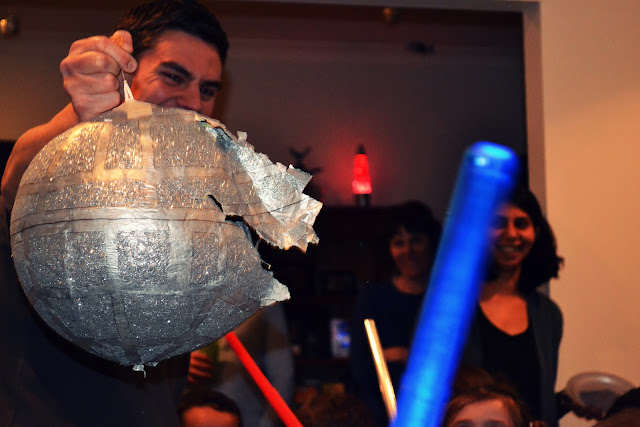
11. Fill your pinata with chocolate and lollies, wait for the big day, and then watch all your hard work get smashed to smithereens by little Jedis and their light sabers (it's fun really!)
For more Star Wars party inspiration, visit the party post here.
31 January 2012
29 January 2012
High time for a little Zhush up!
A New Year is the perfect time for a bit of a bloggy spring clean don't ya think?
So settle yourself in a comfy chair, grab a cuppa and let me show you round the new look MNM's.
Pages
For a start have a wee gander at all the new-look pages by clicking on the tabs along the top of the home page. Or just click on the links below.
Meet the MNM's - so who are these people?
Photographing - magical moments captured so far
Creating - word art, photobooks, crafts, Christmas gifts, party ideas and more!
Blogging - favourite posts
Adventuring - road-tripping here and there with MNMs
Cooking - low-fat recipes or high indulgence treats and everything in between, take your pick
I hope you find lots in these pages to enjoy and inspire.
A new Favicon
Remember that little red Pohutukawa Favicon? Well now MNM's have a new chocolate mnm favicon. Kinda appropriate don't you think?! If you don't know what a favicon is, it's the little picture that shows up next to your blog's name in either the URL field (if you are in Safari or Internet Explorer) or to the left of your blog name in the tab (if you're in Google Chrome). Nifty huh!
And you can get your very own favicon at the click of a button. These days all you have to do is click into your Blog Layout page and select the Favicon gadget and upload a square picture and voila! your favicon is created.
Although I had a few technical glitches, so I went with the good old method I learnt from the queen of favicons Angela Noelle over at Striking Keys using www.iconj.com to host my little icon. If you'd like to know about how to create your own, leave me a comment and I'll send you some instructions (or better still write a blog post on it!)
Social Media Buttons
I saved one of Simone at Greatfun4kids tutorials a few months back (you really should check it out!), and finally got around to creating some cute social media buttons so now you can subscribe via RSS feed, contact me on Facebook, follow me on Pinterest, or send me an email with the click of a button. The more ways the merrier right!
Favourite Topics
I've also made it easier for you to search by favourite blog topics by creating some clickable links on the sidebar.
Water marks and Upsized Photos
I'd been meaning to watermark my photos for a while, but hadn't found a really easy, foolproof way to do it in bulk where I could also choose my own fonts and placement etc.
And I wanted to be able to post photos larger than Extra-Large size but that would still fit onto the blog page. Enter a bit of HTML coding tweaking and lo and behold much bigger photos. You can see the difference between extra large:
and this even larger size which makes much better use of the available space on the page - you'll only be able to see the difference in size if you're reading this post on the blog rather than through a reader or on your mobile though!
Note the cute little watermark in the bottom right corner. I might even have to post a wee tutorial on how to create watermarks and upsized photos soon!
Moving with the Mobile Times
I had been wondering for a while why when I read some people's blogs via Safari on my phone (i.e. not through Google Reader which I mostly do), they came up all neat and fitted to screen and others (including mine) didn't.
And then I had an AHA lightbulb moment. So it turns out under the Design Template page there's a little place where you can choose how your blog appears on mobile devices. And all you have to do is turn it on! Easy peasy Japanesey. And what a difference for your readers viewing pleasure believe me, it is so much easier to navigate and scroll through individual posts and between posts on the mobile template!
And just so you can see, here's the difference on the phone.
So..that's about it. It's taken a wee while to get it all done, but I'm pretty happy with the results.
And I hope you've enjoyed your look around the new look MNM's and maybe you might have even learnt something along the way too!
27 January 2012
Things I'm Loving: Check, check.
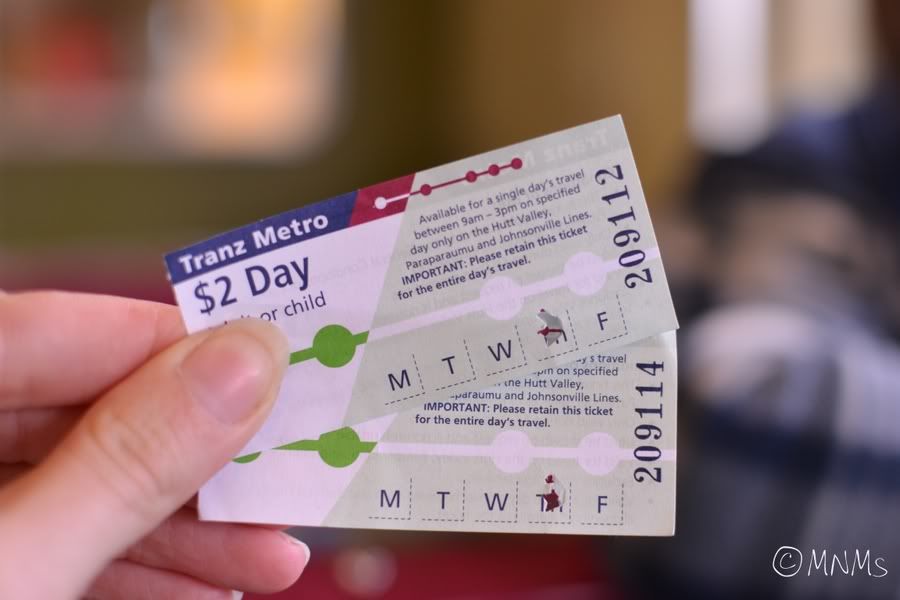
Tickets, check.
Travellers, check.
Train, check.
Inaugural train ride, check.
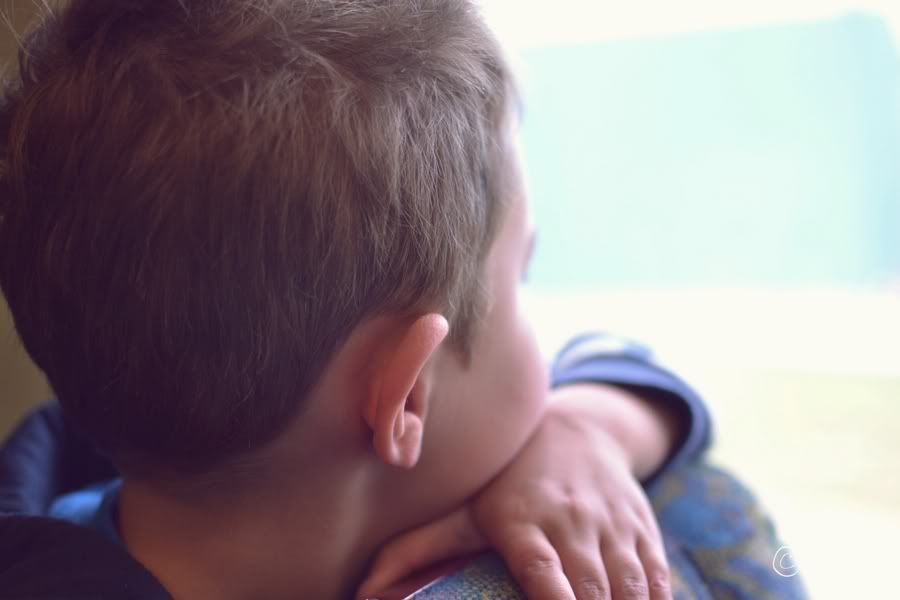
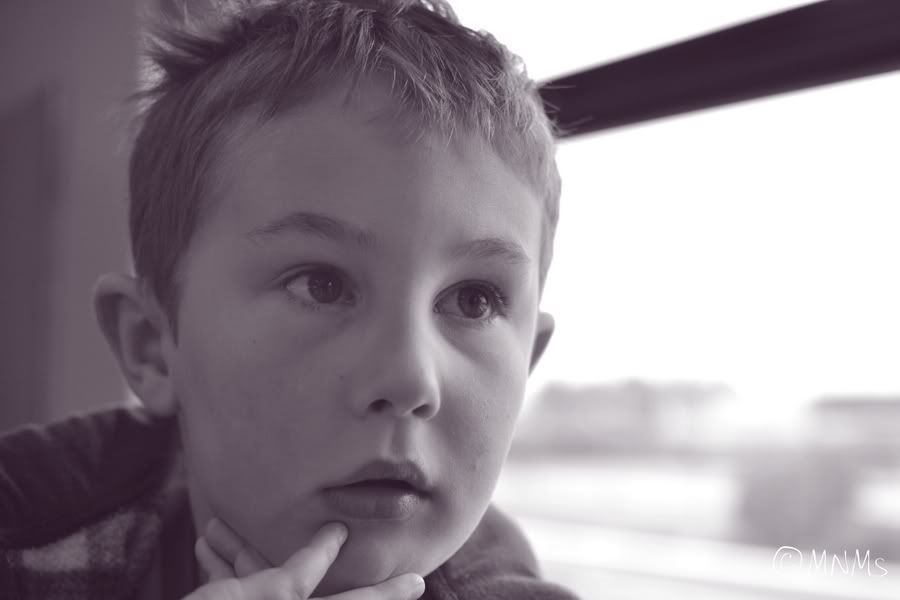
Fascination, check.
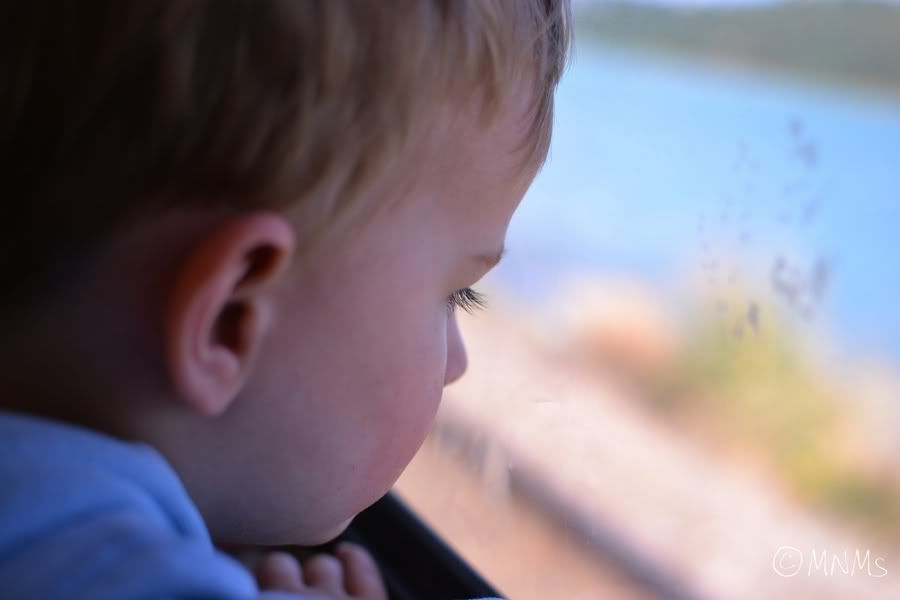
Stunning views, check.
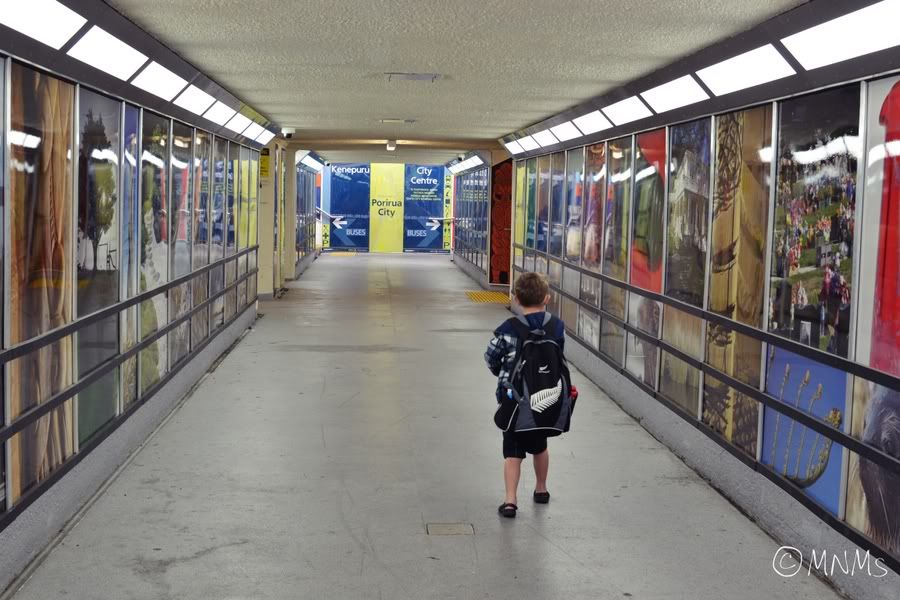
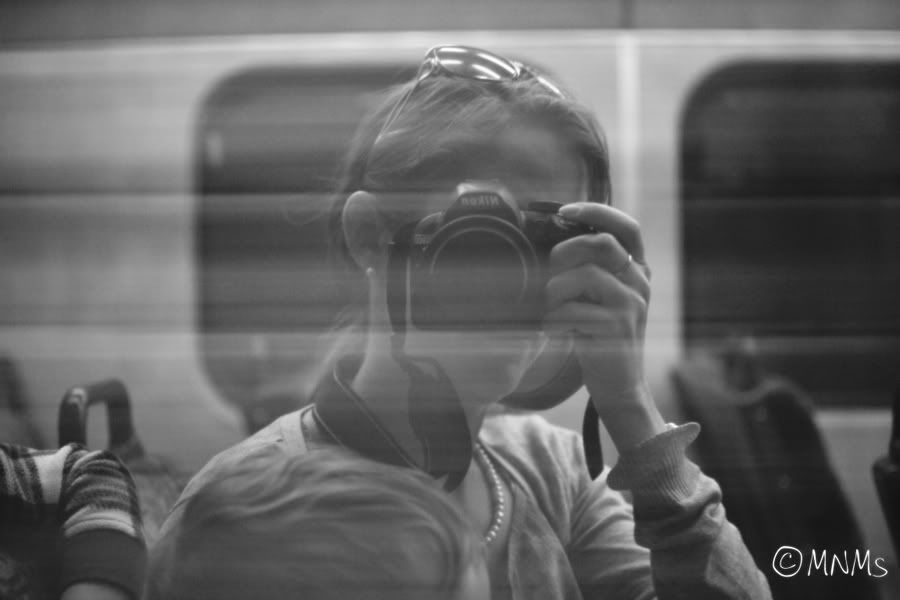
Snap happy mama in tunnel. Check.
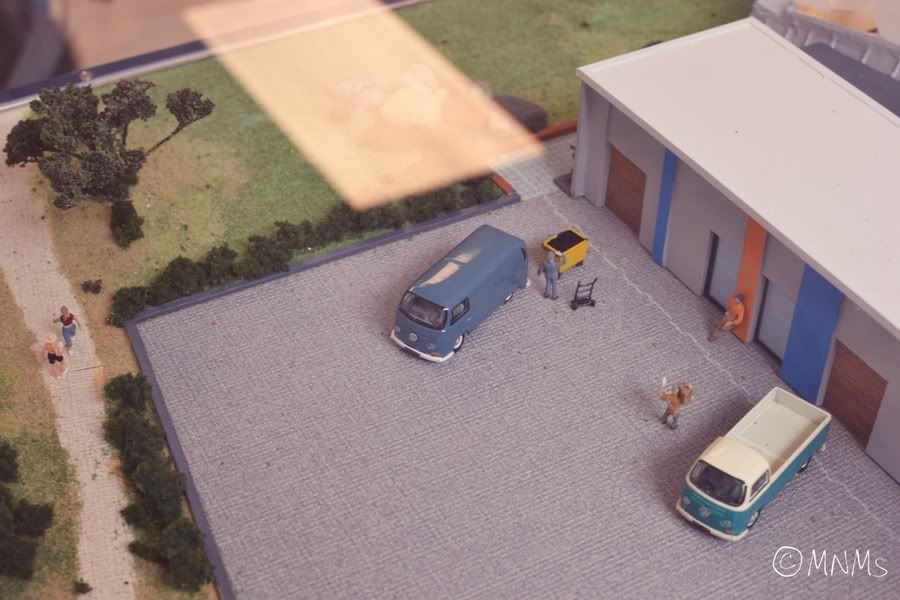
Punch buggy vans, check.
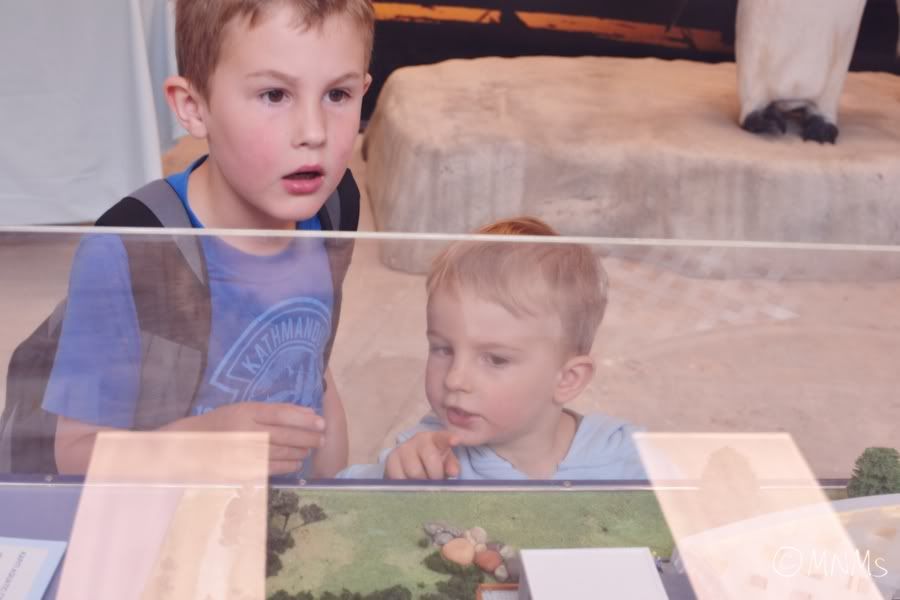
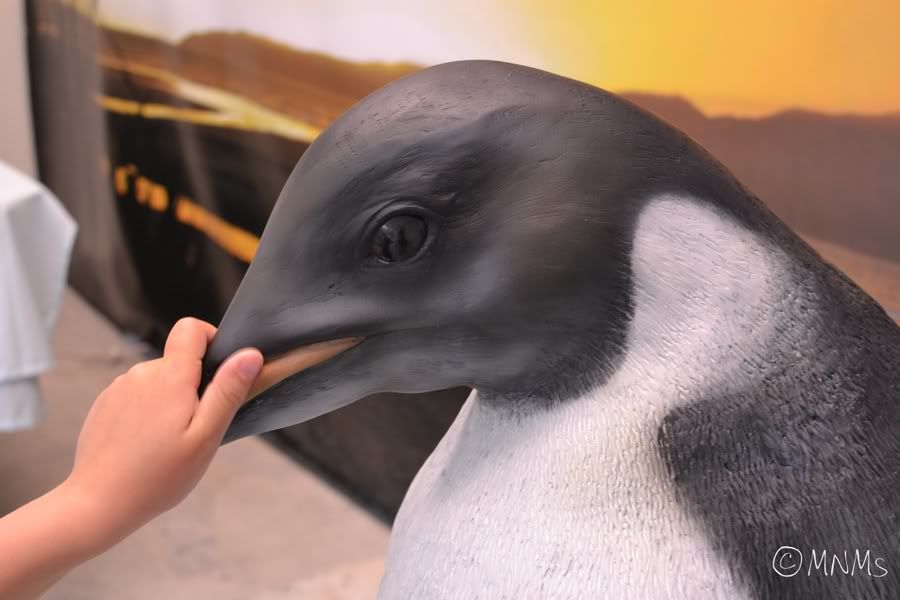
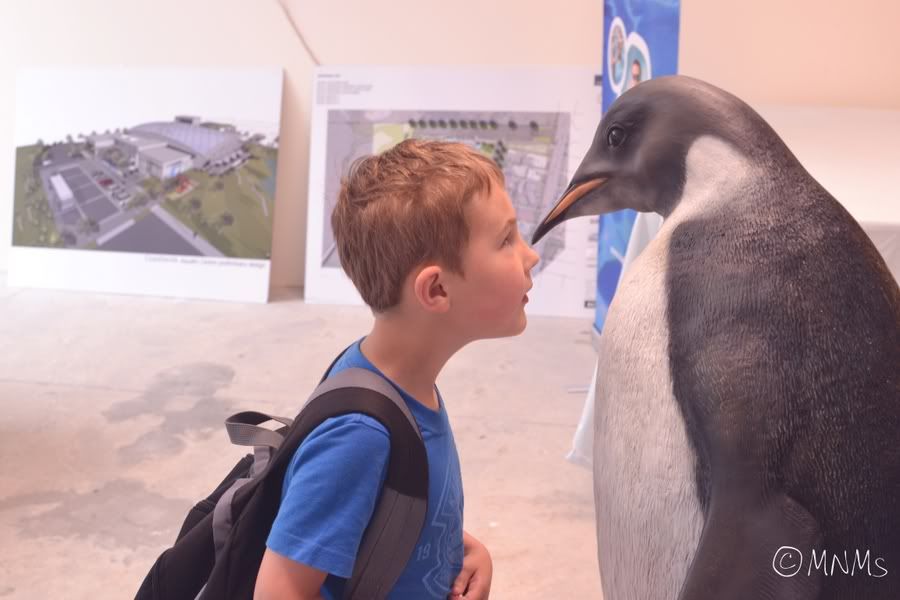
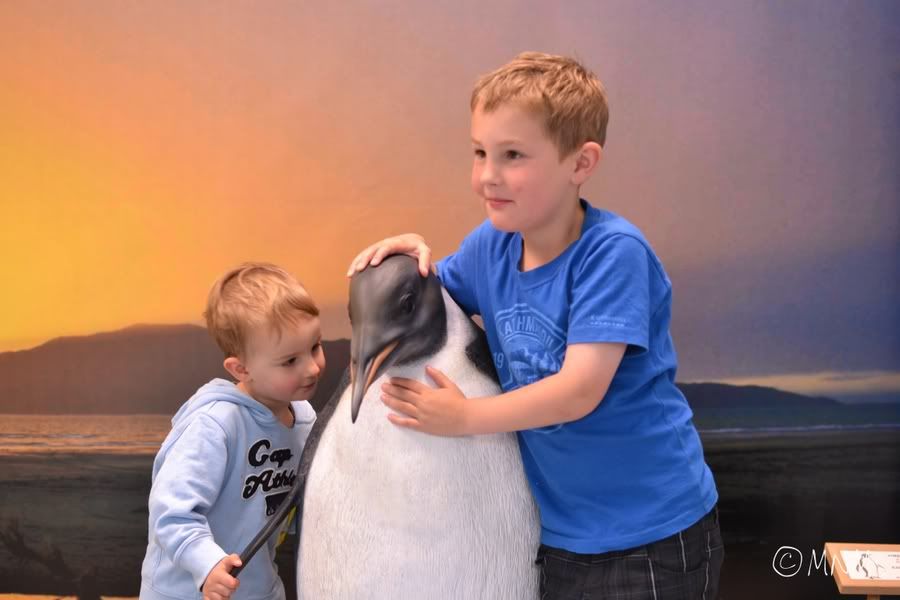
Penguin spotting, check.
Height competition, check.
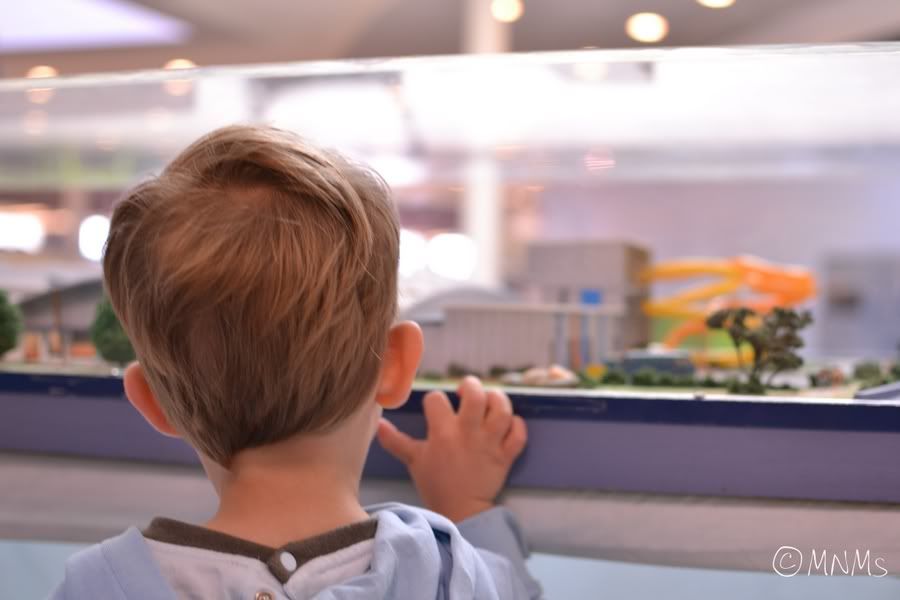
Dreaming of a beautiful new aquatic centre. Check.
Cute photo with Happy Feet, check.
All aboard for the trip home. Check.
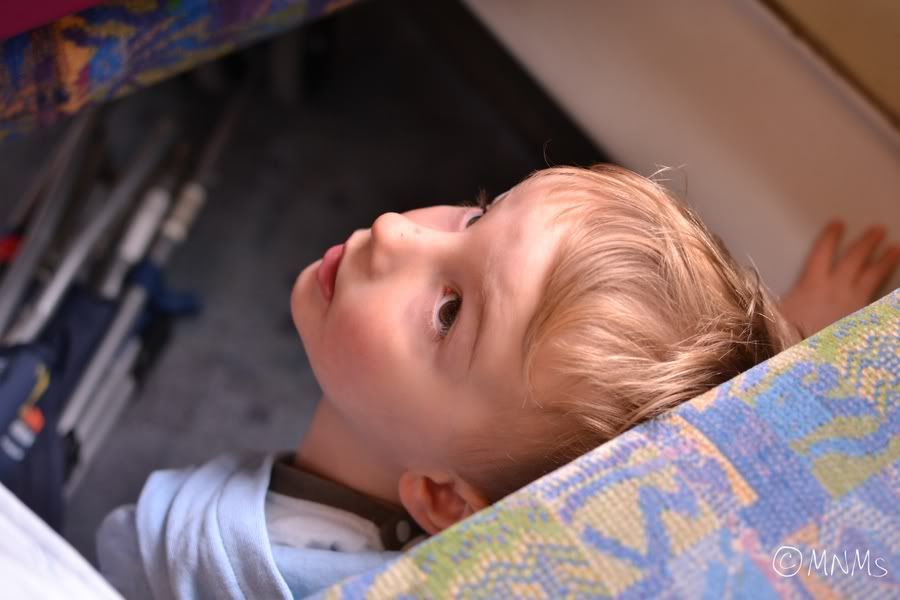
Boy convinced that under the seat is the safest place to ride. Check.
Boy who decides that actually the safest place is in his mama's lap. Check.
One train-tooting-tastic Mama and boys day out, check, check!
Linking up with Paisley Jade's Things I'm Loving
and my new Love Where You Live linky.
25 January 2012
Recipe: Carrot, Pineapple and Zucchini Cake
Carrot cake is my favourite cake. Hmm, let me rephrase that. Carrot cake with cream cheese icing is my favourite cake. So,if I'm honest, it's all about the icing not so much the cake!
Carrot, Pineapple & Zucchini cake
Olive oil spray
WW or Golden Canola Lite Spread 1/4 cup (50g)
Caster sugar 1/2 cup (105g)
Egg 1, lightly beaten
Eggwhite 1
Crushed pineapple in juice 1/2 a can (we just put pineapple slices in juice and blended them)
Carrot 1 medium peeled and grated
Zucchini 1 medium trimmed and grated
Self-raising flour 1 3/4 cups (210g) sifted
Baking soda 1 tsp
Ground cinnamon 1 tsp
Ground nutmeg 1 tsp
Cream Cheese Frosting
Light cream cheese 125g (1/2 a pot)
Icing sugar 1/4 cup (40g) sifted
Lemon juice 1 tsp
Number of serves: 16. Points per serve: 2.
At only 2 points per slice (including icing) this really is a winner. To put that into perspective, here's what else 2 WW points can get you:
- 2 tsp butter
- 4 tsp sugar
- 2 Tbsp flour
- 4 apples
- 1 small glass of wine
- Not even one sausage
- Not even one 20g slice of cheese
Carrot, Pineapple & Zucchini cake
Olive oil spray
WW or Golden Canola Lite Spread 1/4 cup (50g)
Caster sugar 1/2 cup (105g)
Egg 1, lightly beaten
Eggwhite 1
Crushed pineapple in juice 1/2 a can (we just put pineapple slices in juice and blended them)
Carrot 1 medium peeled and grated
Zucchini 1 medium trimmed and grated
Self-raising flour 1 3/4 cups (210g) sifted
Baking soda 1 tsp
Ground cinnamon 1 tsp
Ground nutmeg 1 tsp
Cream Cheese Frosting
Light cream cheese 125g (1/2 a pot)
Icing sugar 1/4 cup (40g) sifted
Lemon juice 1 tsp
- Preheat oven to 180C. Spray a 22cm square or 20cm round cake tin with oil. Line base and sides with baking paper
- Using electric mixer, beat canola spread and caster sugar until light and creamy. Gradually add combined egg and eggwhite, beating until combined. Stir in pineapple, carrot and zucchini. Stir in the sifted flour, baking soda and spices.
- Spoon cake misture into pan, smooth surface. Bake for 35-40 minutes or until golden and cooked when tested with skewer. Leave in tin to cool.
- Make cream cheese frosting. Using electric mixer, beat cream cheese and icing sugar until smooth. Beat in juice. Spread frosting over top of cake.
23 January 2012
Potty Progress
So, we're 2.5 weeks into this toilet training malarky. I can say with (some) confidence that we are making upwards progress. I have to keep remembering that it's a journey not a destination to be reached in the shortest timeframe possible (although that would be nice too!).
Last weekend, we had a couple of accidents each day, and it would be fair to say we've been struggling on the whole on the poo front. Someone seems to prefer having it mush around in their undies than letting it plop freely and easily into the loo. What is with that?! I know it happens to a lot of kids but I still don't quite get why if you're mastering the 'weeing' in the toilet, why the 'pooing' should be any different. Different part of the brain maybe?
Anyway, between 3 nasty code browns in undies that came home from daycare for us to clean up (the teachers only go so far in their support of the process which is quite fair to be honest!) and a few early morning nappy poos, we just weren't getting any opportunities to practice pooing on the toilet.
So hurrah hurrah, yesterday afternoon just before we went to the beach we finally hit the mother lode. There was singing, there was dancing, there was high-fiving, there was Chocolate Santa eating, and general celebration to be had all round in our household. Now if we could just repeat that a few times over and I think we might be confident that we're on our way.
Last but not least, another story to share. On the way home from the beach yesterday, there was some nervous fidgeting in the back seat and a little voice said 'I want to get out, I want to get out' which we now know is Mylo's code for 'eek..I need a wee pretty darn soon'. Despite the fact we'd all only just been to the loo before getting in the car 10 minutes before, we thought we'd better stop as I wasn't keen to repeat the previous week's car seat washing experience anytime soon.
Luckily it was on a bit of a back road connecting two suburbs so it was forested and bushy and fairly private.
Mark got out of the car to assist proceedings.
Which went on....
and on.....
and on.....
I watched out the side mirror while various different positions were assumed. Squatting, crouching, sitting, standing. I'm not sure if it was the shock of being asked to go on the side of the road, but for whatever reason it seemed to be taking a long time.
Finally, success!
The picture says it all really. Well not all, as you can see I've left a small amount to your imagination. Note the look of triumph/thank the Lord/that was painful on Mark's face!
Anyway, here's the same chuffed boy pretty happy not to be baring his all to the world any longer, instead hanging out in quite possibly the cutest pair of boxer shorts I've ever seen on a two-year old!
22 January 2012
The magic that I see
Yeah, so that's not really my natural style. I know it. You know it.
I'd rather go in search of magic every time.
The weather has been patchy here to say the least, yesterday being no exception. Windy enough to contemplate NOT leaving the house at all. Cloudy enough to wonder if there really was rain threatening on the far hills.
But the pull of the outdoors was stronger still.
I felt an old favourite calling. The scene of the Enchanted Wood experiences last May. We hadn't been back since, and I'd thought about it at times, wondering if perhaps I was almost too afraid to return, whether by returning we might break that magical spell, and it would be just another bush walk on just another day.
I needn't have worried.
A different season, granted. But magic was to be found in new and different places.
In brothers learning the meaning of sharing, in the successful negotiation of whose turn it is to dip crackers in the cheese spread.
There was magic in the light glistening through silken spiderwebs caught high above us
And in the soothing sound of stones gentle plopping from the bridge. And the concentrated determination with which they were released.
There was magic watching the absolute adoration of an apricot. The full bodied inhale and expectation of what was to come.
And when the magic of the Enchanted Wood faded, replaced by the simple comfort of home, I sought desperately to find it again.
Dragging pillows onto the trampoline for quiet time with my big boy in the warm glow of the early afternoon sun while the lil one slept close by.
Apparently the words 'trampoline' and 'quiet-time' don't co-exist together in the same sentence, so I found out.
Somewhere along the way, between a morning in the bush valley sheltered from the worst of the wind, and the clock striking one, more magic had been spun, and the windswept, mediocre day had been replaced by cerulean skies and a gentler sea breeze.
A jaunty ride down to town on the cable car providing almost as much fascination as the 60c soft serve at the Big M that followed.
With a vantage point just high enough to perfectly exclaim over the never-ending buses breezing past on the Quay.
Maybe it was all part of the magic of the day, but somehow I fell in love all over again with the words 'milk moustache'.
Whilst in the other room a single bed magically became a king single, and its occupant seemed to shrink again in his voluminous new surroundings as if he'd joined Alice on a weird and wonderful trip through Wonderland.
OK, I say 'waved a magic wand' figuratively since the bed moving, cot dismantling, bed making, room tidying took the better part of the day. Especially with a trip to Briscoes in the middle of it all to complete the right-sized bedding for each bed meant having to remake both beds all over again in the heat of the afternoon to install the new valances, and duvets. Boy did I wish I could have waved a real 'abra cadbra' at that point.
Just when I felt the magic beginning to wane amongst a growing 'to-do' list of weekend chores, the sunny afternoon called, pulling us outdoors away from a house in desperate need of a vacuum, and lordy you don't even want to imagine the toilets right now!
All I know is these afternoons are few and far between in our little world. So when these moments come, we can't and don't ignore them.
Because the vacuuming will still be there tomorrow (sadly). But the magic of this moment won't. It was a one-time only offer.
Blink and you miss it.
If the magic here looks unshakable, unbeatable, unstoppable, it's only because I'm showing you the magic I choose to see in these moments.
Because what you can't see is that the wind was fair whipping up the dry sand on shore, stinging our eyes and faces, plastering our hair and ears and mouths with grit, and making it almost impossible to see much magic anywhere.
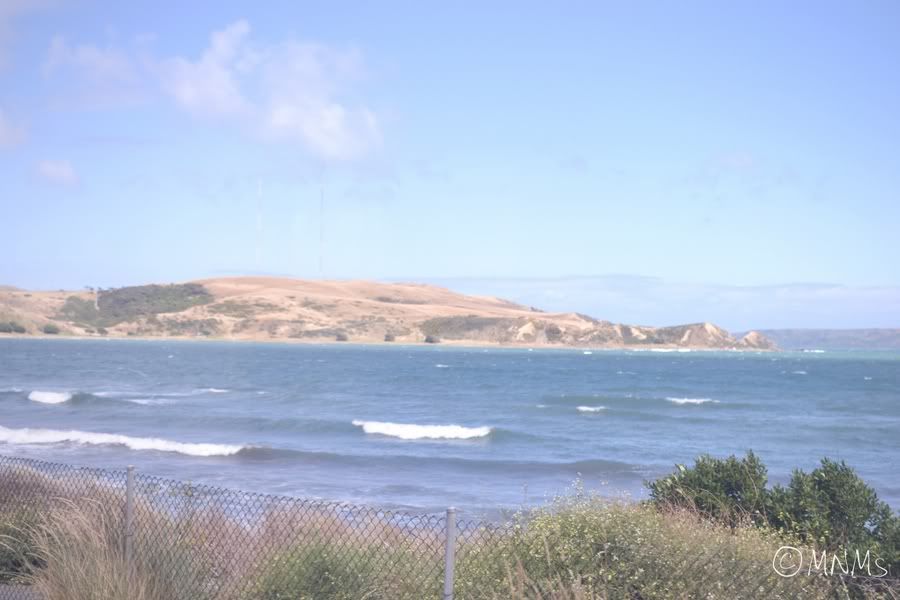
But when I looked harder and deeper, I found it in his bravery. Where two years ago, the water was a formidable threshold not to be crossed under any circumstances, now it is a playmate, one to be teased and enjoyed.
And I found it in the directness of his salty, sandy gaze.
You see, magic will happen anywhere, anytime. Because of our surroundings, or in spite of them.
It's easier to think the grass is always greener instead of searching for the magic that's right in front of us.
So I'm making a deliberate choice to Love Where I Live this year.
How about you? Will you join me?
I'd love to hear your Love for where You Live, so come and join me by linking up here throughout the year.
Subscribe to:
Posts
(
Atom
)