Here's how you can make their dreams come true:
What you'll need:
A round balloon
Newspaper cut into 2-3cm wide strips
Flour/water paper mache glue mixture
Sharp knife
Masking tape
Silver tissue paper
Silver glitter glue/spray
Black marker pen
1. Blow up the balloon to desired size. I bought a pack of 10 punching balloons via eBay for $10 shipped from the UK. They came came with rubber bands already attached which were perfect. The rest of the balloons were given away as part of the goody bags at the party.
2. Make up a paper mache glue mix out of flour and water, approximately 1 portion of flour to 4 of water. Play around with the consistency though as I found once I was on my second and third layers I went for less on the flour and more on the water.
3. Using newspaper strips, pass each strip through the glue wiping off excess between two fingers and then placing the strip on the balloon. Continue till the whole balloon is covered and wait for it to dry. You'll need to have the balloon hanging (from a piece of string or rubber band) or resting on something that it won't get stuck on. I used a plastic rubbish bin.
4. Repeat step 3 for as many layers as you want. Two would probably be enough, but I did four to be safe. One thing is for sure, it made for a very tough pinata!
5. Once dry take the pinata, and using a small pin or nail, slowly let the air out of the balloon inside. Discard the balloon (if you can get it out from the inside!) but keep the rubber band/string from the inside, as you'll be hanging it from this.
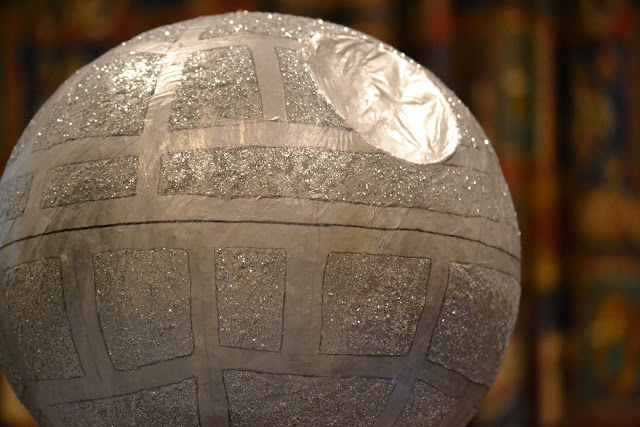
6. Use a pencil to draw a line right around the equator the pinata. To make the famous inverted well on the Death Star, draw a 4 inch circle above the equator and cut out with a sharp knife. Turn this piece over and fasten back into the hole with tape.
7. Repeat the paper mache process from steps 2 and 3 with silver tissue paper so the pinata is fully covered. Wait for this to dry completely.
8. Lightly apply strips of masking tape to simulate the light lines on the Death Star as seen in the picture.
9. Sprinkle or paint silver glitter in all the gaps between the tape. I tried about 3 different kinds of spray glitter, and glitter glue before mixing glitter glue with standard glitter and then painting this on to get better coverage. Wait for this to dry completely and then CAREFULLY remove the tape as it will tend to stick to the tissue paper.
10. Using a black marker pen, draw a line around the middle of the equator and around the non-glitter areas of the pinata.
Voila. Your masterpiece is complete.
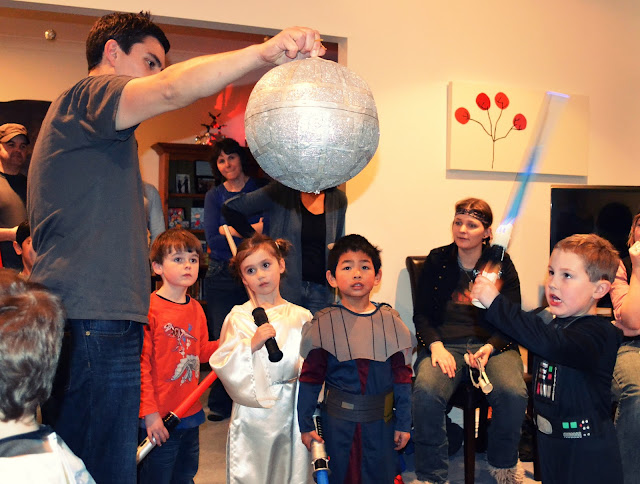
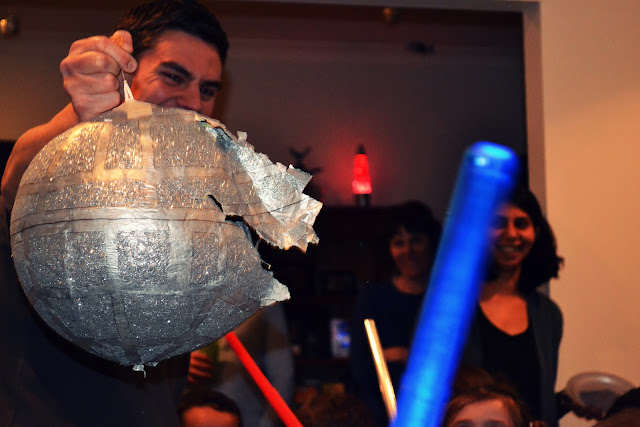
11. Fill your pinata with chocolate and lollies, wait for the big day, and then watch all your hard work get smashed to smithereens by little Jedis and their light sabers (it's fun really!)
For more Star Wars party inspiration, visit the party post here.


6 comments :
This might be a stupid question but how do you get the candy inside the pinata after you have finished it?
This is a great tutorial!!! THANKS. Just signed up to follow your blog:)
This is a great tutorial!!! THANKS. Just signed up to follow your blog:)
I actually figured it out on my own and laughed at myself at how stupid of a question I had asked. Thanks for all the ideas, we had a star wars themed birthday party for a 37fact year old this last weekend and he LOVED it!
I actually figured out the candy issue on my own and couldn't stop laughing at how stupid of a question I asked. Thank you for all the ideas, we had a 37 year old's Star Wars Birthday party this last weekend and he absolutely LOVED it!
I REALLY love this! My son is having a Star Wars 6th birthday party, and this is so awesome! Do you mind if I give a link in my blog? Of course credit will go to you!
Post a Comment